Showing posts with label Christmas. Show all posts

Monday, December 2, 2013

Giveaway + Pretty Little Studio Blog Hop

It's a holiday hop! So happy you've stopped in today. I have a couple of Pretty Little Studio projects I've created in celebration of this hop.

Woodland Christmas
I was delighted to receive pieces from this darling collection and put them to work on a few holly jolly projects.

Since Mr. Claus himself will be visiting in less than a month, I decided to help Maggie prepare her wish list. To do this, I created a pocket by stitching two of the Twas the Night Bookmark Tags together.


Before stitching, I added a few decorative embellishments to the pocket, including a slice of doily, a strip of washi tape, a sequin, and one of the Pretty Little Studio Balsam Fir Paper Ribbon.


To make sure this works as a pocket, I didn't stitch across the top. I left it open so a tag could be slipped inside for Santa.


I made sure to wrap part of the embellishment cluster around back, creating a quick front/back embellishment approach. To complete the back, I added Maggie's name, using stickers from BasicGrey, and sprinkled on a few small toppings (heart and star).


For Maggie's wish list, I simply noted a few things I knew she'd love using a Shipping Tag from Pretty Little Studio and my typewriter.


I then inserted the tag into my stitched pocket. Top things off with a little homemade popcorn ball and, of course, a glass of milk, and you've got a gift the big man in red will cherish.


My Layout
Now, time to go back in time to last Christmas. I'm so happy to finally have a layout done about that joyous time in our lives. This line was just the ticket for completing such a project.


I was immediately drawn to the various stars in this line and knew I wanted to incorporate them throughout. Since Maggie is our own little star, it only made sense that the page be about her. And no time shines quite like Christmas time, so it was a perfect pairing.


I cut strips from the 8x8 star paper to create the border on the left side of the page.


I used this same paper on one of my grid pieces, as well as a slice of doily and this darling Pretty Little Studio flair.


As fun as a good banner can be, I decided to turn one of these cute Spruce Pine Bunting Flags on its head instead, making it a Christmas tree.


The ornaments are dots to letter Is in my Making Memories sticker sheet. The trunk is a letter T from the same set.


These fun file-folder tabs offer much creative potential. Unfortunately, they were a bit large for my grid purposes. No problem. I simply altered them a bit to dress up a few of my pictures.


On a layout where I want to include as many photos as possible, I'm all for space-saving solutions when it comes to journaling, which is why I created this flip tag.

To create the journaling flap, I simply stitched one of the sassy Twas the Night Bookmark Tags to one of the Shipping Tags (similar to the tags shown below). By scoring along the seam before stitching, it created an easy-to-open door.


Finally, I added a little twinkle twinkle by punching a star from my cardstock, adding a few of the Woodgrain Star Stickers around the negative shape (area where I punched), and topping it with tracing paper. From there, I added a couple of stars on top of the tracing paper to complete this grid square.


Hop to shop! 
From this hop, you'll want to shop. The Pretty Little Studio shop has so much to choose from, and much of it is under $5, so this prize of five buckaroos will hook you up with a ticket to some new delights. For a chance to win, simply leave a comment on this post between now and Friday, Dec. 6.


Hey, kid, hop and roll; hop on!
Great news! Every hop stop has a giveaway attached, so you'll want to visit each of the sites and leave a love note at each stop along the way for more chances to win.


Next hop stop on the list: the incredible Maggie Holmes. Tell her I said hello while you're there, okay? :)

For a complete list of hopper bloggers, check out the Pretty Little Studio blog.

And don't forget to visit Pretty Little Studio for complete information on all the happiness happening today with their fabulous Cyber Monday sale. It's only a two-day event, so you'll want to act fast!


Thanks so much for visiting today! I always love hearing from you and appreciate your support!

Cheers!

Thursday, December 22, 2011

Quick Christmas Crafts: Wreaths and Ornaments

My talented Aunt Ruby made this wreath some 40 years ago. Mom hangs it every year. Handmade is so special! 


You might say this is a Christmas miracle. After months of no blog bidnaz, I have a little something to share. Handmade holiday crafts! There’s still time to make someone special a decoration. Here are a few of the projects I’ve put together this year.
Last weekend the gals in my family got together to make wreaths, all inspired by the Dec. issue of Woman's Day magazine.


My sis-in-law and I both decided to go with paper straw wreaths. I bought the straws at Orson Gygi, a local kitchen supply company. You’ll also need a hot glue gun, ribbon, and a foam wreath form. 
Here’s how it's done:
1. Cover the inside and outer edges of your foam wreath base with ribbon. You can either pin the ribbon in place or glue it. 


2. Cut straws to two varying lengths and attach them to the wreath base, alternating between the longer and the shorter straw. 


    3. When the first layer of straws is done, take another style of straw, cut it to two smaller lengths, and layer them over the background group of straws. Top the finished wreak off with a bow! 
      5. Hang the wreath by attaching a loop of ribbon to the back of the wreath. 

        Gina, my sis-in-law, went with blue straws for a neat snowflake effect. Cool! 


        Mom opted for the box wreath, which is super cute. You’ll need several small boxes in various sizes (I got ours at Xpedx), wrapping paper, ribbon, hot glue, and a wire wreath form. 
        1. Position your boxes on your wreath how you want them to fit. 

          2. Wrap the boxes with wrapping paper and adhere them to the wreath frame. 
            3. Top some of the boxes off with ribbon and hang the wreath. Fun!

              Inspired by an awesome tutorial at Jessica Jane Handmade, I also made some clay bird ornaments for my family. I love the way they turned out.


              Have you made any crafts this season? If so, I’d love to see or read about them. 
              Merry Christmas!

              Sunday, January 16, 2011

              Wait. Before you take down those lights and drink that last glass of eggnog, let’s talk Christmas for just a few more minutes. I know it’s mid January, but I have a couple of Christmas cuties to share with you from my holiday. Do you mind prolonging the holiday magic for a few minutes more? 
              A Themed Stocking
              Has Jolly Old Saint Nick ever left you a themed Christmas stocking before? This year was a first for me, and I loved it. What a clever idea! My sweet Santa knows I have quite the sweet tooth and love pink, so he left me all (almost) pink treats in my sock. 


              Speaking of themed stockings, my mom sent her sister a stocking stuffed with gift cards to all of the stores she likes the most. 
              I love the idea of a themed stocking and definitely see myself doing one in the future. What theme ideas do you have?
              A Charming Gift
              This charm bracelet is one of my favorite gifts this year. Each of the little charms on it are from Fossil, and they’ve paid attention to every detail. 


              Check out this sweet camera charm.


              Marketing Magic
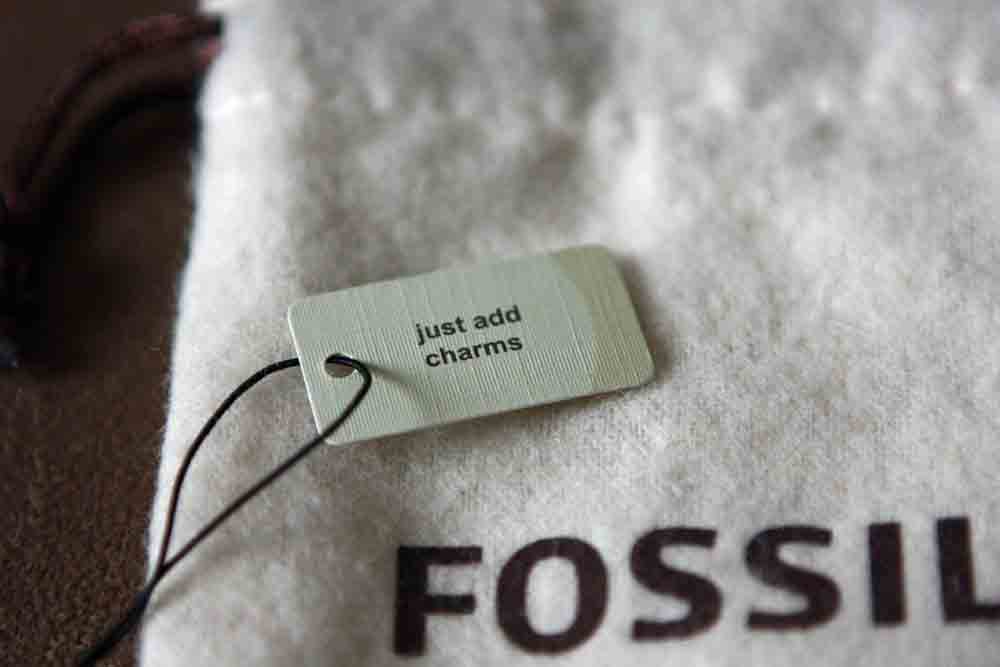
              I don’t know if it’s because of my PR background or what, but I have a high appreciation for unique packaging. Fossil sent all of my charms in these little felt bags. 


              And my watch came in this cute tin.


              But it’s the extra surprise they threw in that really made my marketer’s heart sing. It’s a wood ornament wrapped in baker’s twine, with a note to see their special holiday blog for project ideas using the deer. Wow! You bet I checked out their ideas, and I adore the deer. What a creative idea! 


              My Favorite Photo
              Thanks to this beauty from Cor (the Canon 24-70mm/2.8 lens), I took many lovely photos this holiday...


              ...but the one below, which was taken before I opened my lens, happens to be my favorite. The boys are watching for a flying sleigh full of toys. Or maybe they’re checking out Frosty. Whatever it is they’re spying, I adore the look of the three of them gathered by the window. This picture will definitely find its way into my scrapbook soon.


              Okay, that will be it for the Christmas posts...at least until next fall when we get to start the fun all over again. In the meantime, may many blessings be yours this year!
              Cheers!

              Tuesday, December 28, 2010

              This little Chuck Brown tree is a big blessing!

              I hate to admit this, but I started this season not wanting to celebrate Christmas. My heart just wasn’t in it. You see, we were supposed to have a Christmas baby this year, and since that didn’t happen it kind of left a sad spot over the entire holiday for me. I’m relieved to say that I eventually shook some of these sad feelings, thanks to the help of my loving family and friends. But, because of my delay in getting into the Christmas spirit, we were without our decorations. Our solution: a bitty tree. 


              We call this cutie our Chuck Brown tree, because it reminds us of Charlie Brown’s little tree. 


              It’s so small, in fact, that we put it on our coffee table and it still doesn’t reach our ceiling. 

              But it’s perfect. And it’s real. I haven’t had a real tree since I moved out of my parents’ home. I love the smell of a fresh tree. Our fake tree just doesn’t compare. 


              So, we put our little tree up, got out a handful of ornaments and couple of strands of lights, and we set to decorating (with the help of the pups, of course). 


              The result: the perfect little Christmas symbol. Our decor didn’t extend much beyond our little tree this year, but it was enough. It brought some much needed Christmas spirit into our home when it was needed the most. O tannenbaum, o tannenbaum, you fill my heart with music! 


              Thursday, December 23, 2010

              Faux Photo Booth Fun!


              Unless Santa can work a miracle, there’s no way our Christmas cards will be out in time. Because of this, I thought I’d share our silly photo shoot here as an interim holiday greeting. 
              I knew I wanted to do a photo-booth approach to the family photo this year, but it presented two problems:
              1. Where can we find a photo booth these days?
              2. If we do find one, how will we sneak the dogs in?
              I’m thrilled to say that, thanks to the help of friends on Facebook, I found several photo-booth locations in Utah. If you’re interested, I’m told you can find them here:
              Utah Photo Booth Locations
              • Boondocks in Draper
              • The Thanksgiving Point Movie Theater in Lehi
              • Valley Fair Mall (by Penny’s)
              • South Towne Mall (in the food court, by the carousel) 
              • The Kmart in Bountiful (sadly, they’re no longer in the other UT Kmart locations)
              We found the booths, but we just weren’t sure how we were going to sneak the pups in, so we decided to set up a faux photo booth in our home. To do this, we hung a blue sheet from our plant shelf, and we pleated the sheet to give it a more authentic feel. We then set two kitchen stools in front of the curtain to make it feel more booth-y. 


              Wanting a more festive booth, I cheesed it up with garland and twinkle lights. I simply clipped them to the sheet with clothespins. 


              With the booth backdrop set up, it was then time to test the camera. I grabbed a cute model, set my camera to remote shooting, and tweaked the position of the camera until it captured the booth. 

              I don't know why, but this photo had Cory and me laughing to the point of tears. It's just that odd. It reminds me of the "American Gothic" painting with a Santa twist. LOL 
              Now, it’s time for props. We wanted our photo strip to spell out a greeting, so we selected props that would work to communicate our note. And, of course, costumes were in order. Some of our props included the following:

              Photo Booth Props
              • A joy banner
              • A globe
              • A chalkboard
              • A patterned paper #2
              • And costumes (Santa hats, doggie scarves and sweaters, and New Years hats) 
              With everything set, it was time to let the photo fun begin. Of course, this meant many, many outtakes. Here are just a few of those for your viewing pleasure. :)
              Honey, the globe is not a basketball. 
              And there goes the basketball...errr, I mean globe. 

              Everybody just calm down! 

              Which way did Jack go?

              Oh, here he is. But where are the other two?

              Now which way did Cory go? Can't we all just sit still long enough to take a good picture. (If you have high-strung, energetic dogs, you know what wishful thinking this is.)

              Uh oh, is that our booth backdrop falling down around us? Yeah, I think it's time to call it a night. 

              Believe it or not, between the many outtakes we actually got a few photos that worked. I put those images into a free digi photo booth template that you can download here (complete with instructions for using it). 
              And, drum roll please... Here’s the outcome! 
              Can you make sense of our greeting? If not, I’ll give you a hint, it says, “Joy to the world,  & a happy New Year!” 

              You might think us crazy, but we had SO much fun with this little evening project. A faux photo booth would be a happy thing to set up in your home this holiday. Hang a sheet, grab a stool, set up your camera, throw in a few props, and watch your family fun begin. I have a feeling you’ll LOVE the outcome, whether or not you add them to a photo booth strip or simply add them to your scrapbook. 
              Cheers!