Saturday, May 31, 2014

Studio Audience Members Wanted (and a cool giveaway!)


Feeling a bit like Ellen today. Okay, perhaps that's a bit extreme, but I am seeking live studio audience members. Isn't that fun? And I will be giving away free and awesome things to my audience. Sounds kind of Ellen-esc, don't ya think? 

What's up? Well, I've made brief mention of this before, but I want to elaborate now in the hopes you'll join me, either live as an audience member or online via video streaming...

I'm teaching with CreativeLIVE!


Woot! And I owe a great BIG word of thanks to Becky Higgens for suggesting me. What a compliment from a very talented teacher and crafter! (Thank you, Becky!) 

I couldn't be more excited about this opportunity. Or nervous, if I'm being perfectly honest. I LOVE teaching, but this is a game changer. This is a big deal, and I really, really want it to go amazingly well. I'd be forever indebted to you if you could help me make that happen, either by joining me from your computers or actually attending the class. I assure you we'll have a ball!


{THE DEETS}

Who: You & me, of course! And some special guest appearances by some of my friends in the scrapbooking industry. (More on that fun in a future post!)

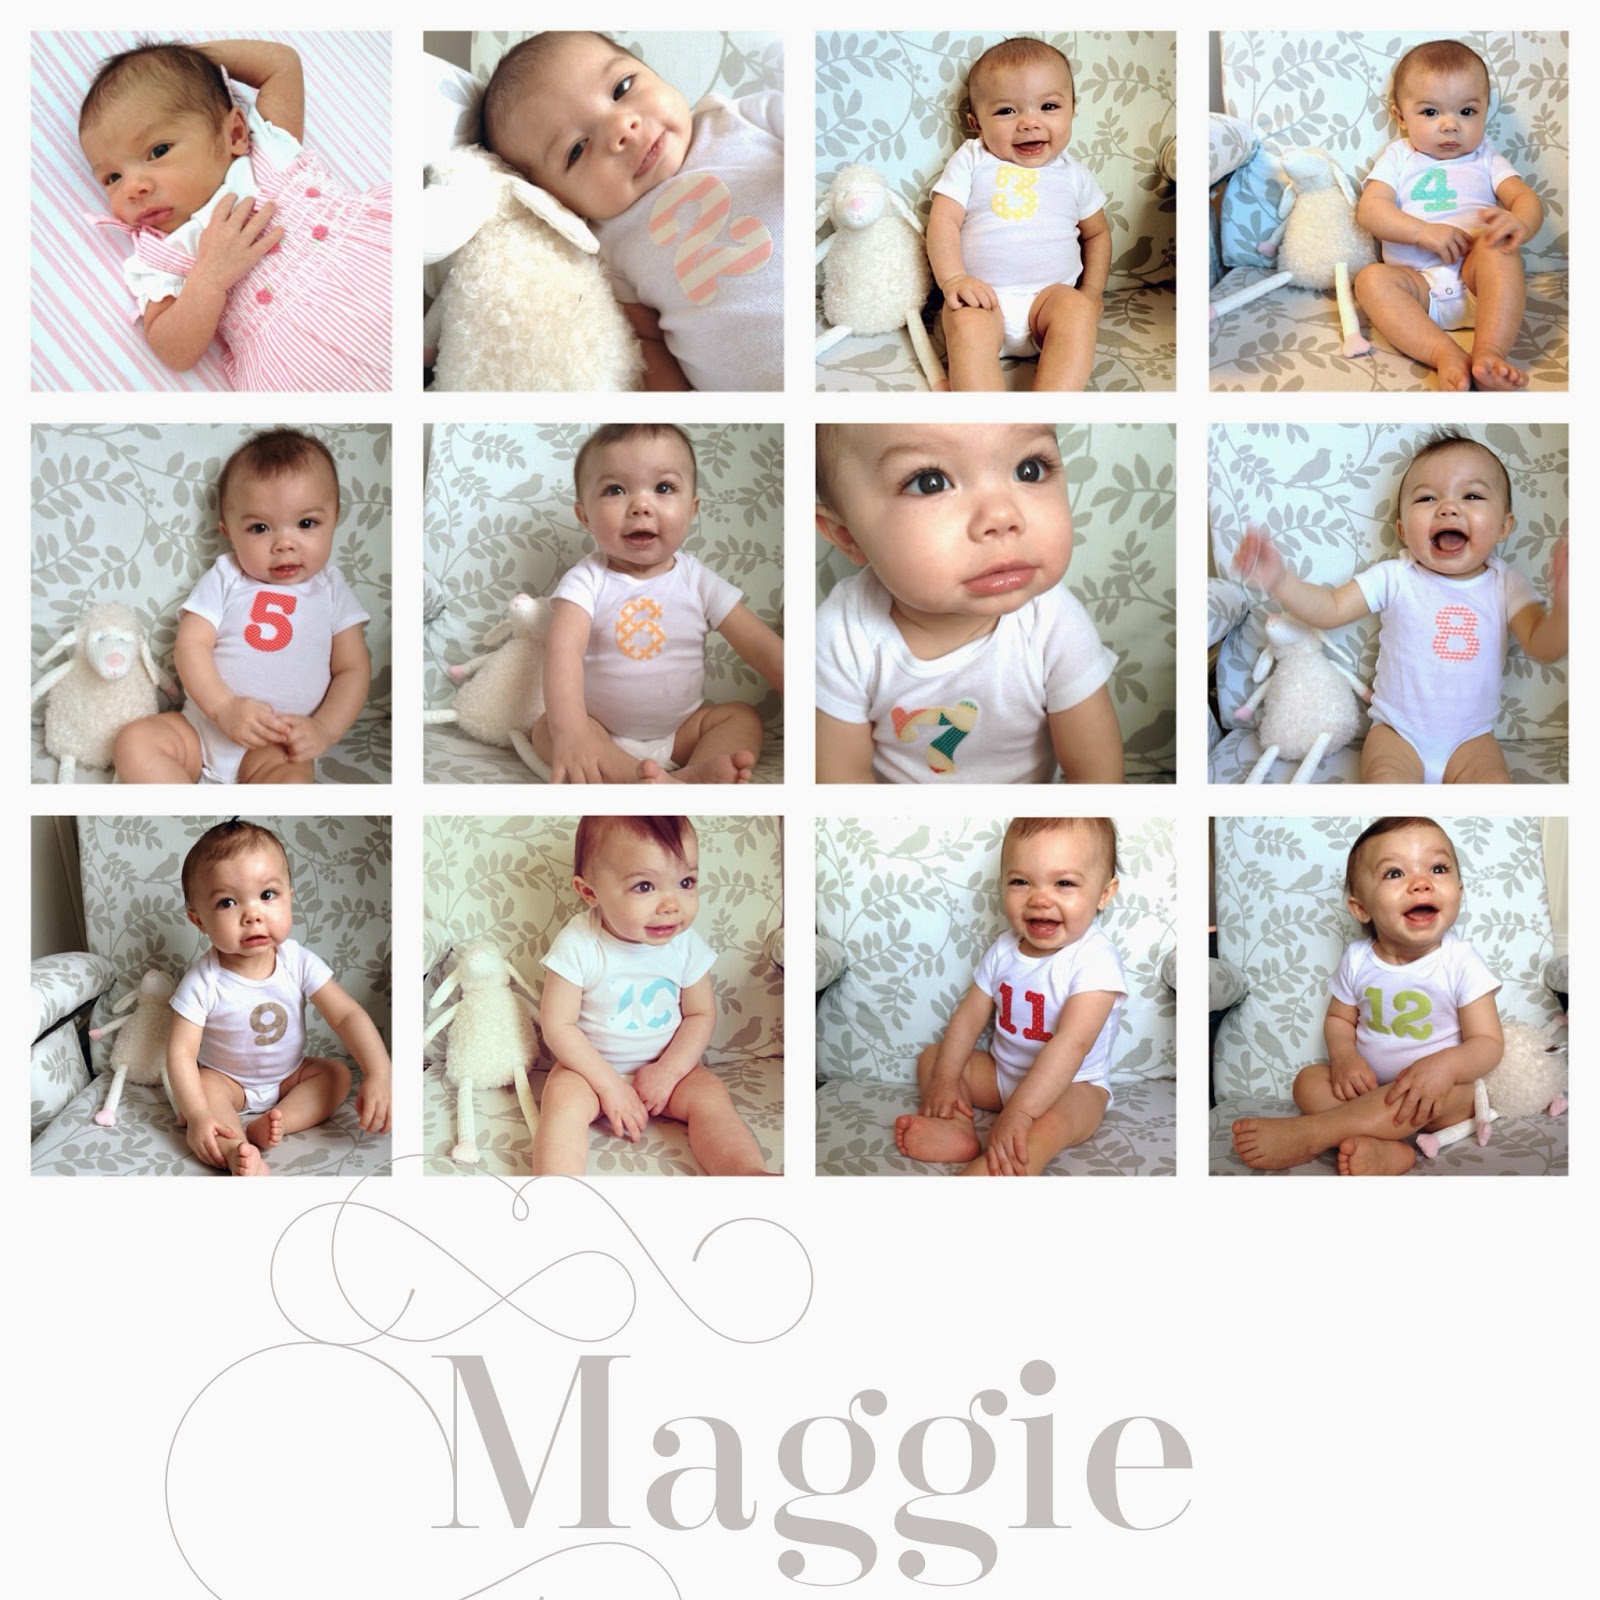
We're going to take our awesome social media moments and turn them into memorable memory-keeping projects we can enjoy long after the internets is dead and gone. Okay, so perhaps the WWW isn't going anywhere anytime soon, but I do want to help you get your amazing stories off your computers/phones and into a more tangible place. And we'll learn many new tricks and tips along the way. Whether you're an avid Instagrammer, a FB fanatic, a Pinterest playa, or you simply dabble in one or all of these sites, you'll find tidbits to apply to your memory keeping. Even if you've never crossed the social-media threshold, you'll get something out of this class and just may find the courage/interest to make that leap (Mom, I'm talking to you here!). ;) 

Where: Your house AND/OR San Francisco, CA. 
If you want to join me as an audience member, then you'll be headed to Trolly Town. (More info on that below.) Otherwise, you can be in the comfort of your own home, or office, or glamper... wherever you have an internet connection and a computer! And join me for two days of projects, ideas, advice, new product reviews, and experts. (Yes, I'll have several special guests joining me!)

When: July 23 & July 24; 9:00 am—4:00 pm (pacific time)

Why: Because crafting is fun! 
Because there are so many amazing parts of our lives being lost to the internet that need rescuing. Because there are new tricks and tips for simplifying your crafting, new gadgets to explore, and new paper to play with. Because I LOVE creating and always have more fun when you join me! 


Audience Members Wanted
Interested in joining me in the studio audience? If you live in the San Francisco area (or feel up to a little road trip), I'd love for you to apply. You'll find information on doing so here.
One of the perks: An impressive student package, which includes delights from We R Memory Keepers (hint: Instagram Albums & Albums Made Easy Kits!), Maya Road, Fuji Film, and more! Plus, two full days of FREE instruction! Hard to resist that kind of deal, right? Space is limited, so please take a min. to fill out the form between now and July 18. Thanks so much!


Announcement Giveaway!
You know me. I like to give things away as part of my big-news parties. In honor of this special celebration, I have a We R Memory Keepers 4x4 Instagram Made Easy Album up for grabs. Want to win? Simply leave me a comment (including your email address, unless your email is already listed in your Blogger profile) on this here post between now and Friday, June 6 for your chance. I'll select a winner at random and send this beauty on its way.


And the Winner Is...
Speaking of giveaways, thanks to all who entered my posie bracelet giveaway. Your kind words made me feel so good. I would reach of them to my husband with a smile. You always know how to say just the right things! I'm delighted to announce the winner of that giveaway! Congratulations....

Kailash! 


I'll email you with details on how you can collect your bracelet! 

Hope to see you all in San Fran soon! Thanks for your interest and support, friends. Hope to see you in San Fran soon! xo

Cheers!

Thursday, May 22, 2014

Today's the day! A big, years-in-the-making day! (And a giveaway to celebrate!)


*deep breath* I've been thinking about this day for years. At least five. Asking myself if I should or shouldn't do it. Asking myself if I have what it takes to do it. It's scary, ya know? Putting yourself out there. Hoping others like what they see.

Because, really, that's what making things is all about—it's putting an extension of yourself out for the world to receive. All you can do is hope they like what they see and try not to take it personally if they don't. The insecurities of a creative? Very likely!

But if you know me, you know I lack a bit in the confidence department. I don't understand it. I'm sure I never will. I'm surrounded by tremendous love and support. I've been offered incredible opportunities. I've worked extremely hard and seen the result of that work come in unforgettable experiences and relationships.

So why the confidence question? Like I said, I don't know. It's just a part of who I am, I suppose. And I think it's high time I learn to embrace that fact and learn to work around it.

But it makes today difficult. No, I'm not launching my own big company. I'm not releasing a novel. I'm not the lead on Broadway...

I'm simply opening a little shop on Etsy.

Something people do every day. But it's difficult because the idea has been in my brain forever and I've been afraid of it. Afraid I won't succeed. Afraid making it official will somehow take the joy out of it or add too much pressure. Well, to all of that, I'm finally ready to say...


What's the worst that can happen? I won't sell a thing, the shop will sit, and I'll live to see another day. Will I be any worse off than I am right now? Absolutely not. So I'm going to follow my arrow, which is pointing in the direction of this little launch, and I'm just going to do it.

What's the best that can happen? People like what they see and place orders. I make a little extra income off this venture while continuing to love the art of the craft. While finding joy being able to make some money as I get to be home with my beautiful daughter. Does it get better? Okay, maybe if some awesome little shop called up and placed an order for their store. That could absolutely add to the excitement. But I'll be tickled with a few orders. It's more than I had at this time yesterday, after all. And it comes from me facing a fear and conquering it. And that's pretty cool!

So, it is with a little bit of fear and a lot bit of excitement that I'm here to introduce to you...


[Dawn on Me]

Named after my beautiful Maggie Dawn, who inspired the onesie side of the business when I decided to photo-document her first year by creating this little set of shirts.


From there, I made a set for a friend, and LOVED seeing a little something I made become an important part her family's life. (Thanks, sweet Brandy, for allowing me to share your photo.)


And somehow I started getting requests here and there, which made me happier than a Muppet on Sesame Street. Thank you to all who've ordered. So very much!


Important Note: For now, please email me to place onesie orders. Still trying to figure out ordering options for them via Etsy. Thanks so much! m2e2g@aol.com

The Posie Story
Awe, my posies. A few unfortunate souls have heard me agonize over these more times than I care to admit. Do I put them out there or don't I? What if people steal my idea? Yeah, back in 2007 (ish), this nonsense kept me from doing anything with my bracelets.

Finally, I slowly came out of my shell and starting offering them here and there. They were selling, which made me feel great! But then I had a baby and had to put the bracelets on hold. Each bracelet takes about four hours to make, and there simply wasn't time to do them.

Fast forward a year or so, when a very sweet person I know asked me to make one for a special charity event she was involved with. I created this design, which I posted to my FB and Instagram accounts.


The response was overwhelmingly positive. From this picture alone, I received ten orders. Ten! How exciting! So I posted a few more on my social media channels, which resulted in more orders. Again, thank you. It's not enough, but it needs to be said. I sure appreciate your warm reception. And I hope those of you who ordered bracelets are loving them as much as I have loved making them for you!

It was the combination of these experiences coupled with the constant love and support of family and friends that finally gave me the courage to take this step today. Now I actually have bracelets online, in a shop, waiting for new homes. Awesome!


No more letting that nasty fear interfere. (Should really be spelled enter-fear, don't ya think?)


Time to Celebrate
In celebration of today, I meant to announce on Studio 5 today that I'd be giving away a bracelet here on my blog, but I was so nervous about announcing this debut (and television rarely makes me nervous anymore) that it all ended up being a bit of a blur. I know I gave cute Brooke Walker, the show's awesome host, a BYU-blue bracelet, but I'm honestly not sure if I ever even mentioned the fact that I'm offering a giveaway. D'oh! (The joys of live(ish) TV.) So, whether I said it on the tele or not, I'm saying it here...

I'm giving away a bracelet of your choice!


Either your choice of any bracelet already in my shop, or I'm totally happy to do something custom for you. To enter, simply leave me a little note here (including your e-mail, please) between now and Monday, May 26, and I'll randomly select a winner.

My Gratitude
Thank you, friends, for making this an extra special announcement for me. I love that I can share (over share?) the thoughts in my head without hesitation. I've always been one to wear my heart on my sleeve, so this TMI announcement today likely comes as little surprise to most of you, but it still means the world to me that you're so receptive and kind with your words. Your responses to my previous Posies post were so, SO helpful. I definitely feel supported. And I value each of you for leaving those words so much. (Someday I'll figure out how to reply to your comments via email to thank you personally. Until then, please know that I read each note received and love doing so.)

Okay, I best be off. I have a business to run. Eep! Feels great saying that! I sure appreciate your being here to celebrate with me today. More than that, I appreciate your being here with me every step of the way leading up to this point. Sincerely and completely.

Cheers!

P.S. I have a shop! Eeeep! :)


Wednesday, May 21, 2014

Monochromatic Madness with Whisker Graphics: A layout & a card


I've gone mad, I tell ya! [said in my best mad-scientist voice] Okay, perhaps I haven't completely lost it, but I am pretty coo-coo for color. Especially the various trends on the crafting scene that incorporate painting. So when the awesome loves at Whisker Graphics asked me to select a few products to work with here on the ole blog, I was instantly drawn to these gorgeous tags!


They were just the right size for putting my new Instax Share Printer to work on a layout. Here's how my page began:

Do It To It: The Photos
Knowing I wanted to document a few photos I snapped of Mags in front of a cool rainbow wall downtown, I added those pics to my photo's camera roll and printed them to my Instax Share Printer using the free Instax app. I'll have to go into this in more detail in another post. But I can tell you this printer rocks my socks!


The Polaroid-style film fits perfectly on the large tags, and my prints were ready in minutes!


Do It To It: The Background
For the background, I grabbed my Watercolor Wonder Crayons from Stampin' Up! and set to work on creating my own colorful cardstock, using the colors of the tags as my inspiration.


First, I colored four columns—no fancy business here, just some shloppy scribbles will do.


Then I took my brush, some water, and set to blending the crayons, creating a soft, watercolored backdrop for my tags.


Once things were dry, I trimmed the 12x12 down to 11x11 (approximately) and matted it to heavy-weight gold cardstock, using my sewing machine. The reason being, the paper curls a bit when you watercolor, and anchoring it to heavy-weight cardstock keeps it flat and secure.


Next, I applied a bit of spray ink to the page for a splattered effect. I did my best to stick with the monochromatic-ness of it all, but the ink tends to wander. I'll be honest, I'm not in love with this detail and would probably change it if it were a simple fix, but I'm not about to start the page over now when I only sort of dislike. KWIM?


Do It To It: The Title
Inspired by the first line in John Mayer's song, "Daughters," I reached for my spray ink again to write "I know a girl." Like this idea, but the yellow tone-on-tone proves a bit tricky to read. Especially in the photo. It's not so bad here at home.

For "She puts the color," I used a large white shipping tag from Whisker Graphics.


I actually wrote "color" with my Watercolor Wonder Crayons and used a water brush to blend the letters—a very cool way to create a watercolored brush script. You should try. Just go easy on the water and don't be afraid to apply more crayon color as needed.


I completed the line—"inside of my world"—by adding Studio Calico stickers to the tags holding my stickers.


Is the song stuck in your head now? It's been in mine for days. If not, let's see if I can help you out. ;)


Do It To It: The Journaling
Wanting to tell the full story of my lovely rainbow-wall I find in downtown Salt Lake City, I knew I'd need ample page space, but I didn't want to disrupt the simplicity of the design, so I incorporated hidden journaling beneath the tags.


It's an easy approach. Simply score the tops of the tags and stitch above the score line using a sewing machine to adhere them to your background.


Now the tags work as flaps!


And I selected pens that matched the colors of my columns to keep the monochromatic feel going. (Except for the yellow. Learned from my title that yellow-on-yellow isn't ideal, so I went with a tan Sharpie.)

There you have it. This page was a fun afternoon art project, and I love the way the Whisker Graphic Tags work to both mat my photos and house my journaling. Thanks for that, WG!


Whew! That looks like more work than it is. Promise. I just like to really break things down for sake of explanation. I actually completed this page in under an hour, which is a massive record for me. I hope you'll give it a try. Or at least aspects of it. Especially those pretty Whisker Graphics tags. Thanks for sending them.

Birthday Card Quickie
I could seriously play with Whisker Graphics goodies all day. (If only time were more accommodating), so I put together one more little project. This time, using these amazing bitty treat bags.

Image credit: Whisker Graphics


It's a little flip, interactive birthday card. It's for a sweet two-year-old, so I wanted to make it colorful and fun. Enter: doodling!


For her name on the front, I simply used the brush-script approach I've so enjoyed these days. For the inside pages, I turned to my awesome Sharpie assortment. Gotta love da Sharpies!


Creating the pages is as easy as stacking the bitty bags evenly on top of one another and sewing along the left (closed) edge. I used a zigzag stitch for extra reinforcement.


I had the idea of tucking a Whisker Graphics tag (large) into each pocket but found I didn't need to after doodling on each bag front, so I saved that surprise for the last pocket, where I placed a little love note.

I'm definitely going to take this card approach again soon, as I can see it being an awesome gift-card holder, money holder, etc. And it was so super easy and fun to make. What a treat!

Thank YOU for stopping in today! And thanks to Whisker Graphics for inviting me to be part of their May fun. Between my Mother's Day card and these projects, I've thoroughly enjoyed myself. Your goodies rule!

Cheers!
Megan

Quick Follow-up Question: I'm currently preparing an interactive card class (so fun!). Tell me, would you make a card out of treat bags like this (and this)? Your feedback on my last post was SO helpful (thank you!) that I thought I'd seek it here as well. Many thanks!

Saturday, May 17, 2014

My Posie Project (advice appreciated!)

One of my favorite parts of buying a special handmade treat is they way it's often packaged--soaked in some serious TLC. 

So, with this TLC appeal in mind, I wanted to try a new form of thank-you tag for my posie orders. 


Here's what I came up with. A pleated ruffle sewn using matching fabric. (Sorry it doesn't show so well here.)


I'd love your feedback. If it were you receiving such a surprise, would you rather it be something you could use, like the "baby" gift tags I include with my onesie orders?


Or would you prefer the tag offer a message of thanks for your order? 


I have quite a crush on handwritten notes, so I think I'd prefer a message. But I also realize people like finding value in their purchases, which makes me think they'd prefer a blank, pretty tag. 

I'd love your thoughts on the subject if you have a min. Thanks, in advance, for any guidance you can offer. This handmade-business bidnaz is tough, to say the least, and I hope to eventually find that secret sauce. With your help, I'm confident I can do it! 

Cheers! 

Friday, May 9, 2014

10 Life Lessons a la Schmom (and a card/gift-card holder) with Whisker Graphics


Mother knows best, they say. That certainly seems true where my own mama is concerned. 

I’m delighted to be posting here today as an official "Whisker Graphics guest blogger." If you've followed my blog for a while, you know I'm a huge WG fan and love putting their projects to work when and where I can.  

Today, I'm sharing a few of the many amazing things I’ve learned from mom over the years, in a little something I like to call. . . 

Life Lessons a la Schmom


Mom Lesson Number 1: Don’t be afraid to try new things. 


I knew I wanted to put some sequins on this awesome Whisker Graphics kraft bag, but I didn’t know the specific variety to use. Time to put a few options down in front of me and see what speaks to me. You know, try a few things on for size. 


Mom Lesson Number 2: It’s okay to go off the beaten path. 


I’ve only recently learned to love my own handwriting. Getting away from pencil-drawn first drafts and letter stickers is scary in crafting, but it can be so liberating. And fun! So dip that paint brush in some acrylic paint and see what happens.


Mom Lesson Number 3: It’s all about trial and error.


I thought it might look cute to add polka dots to the center of my heart using my paintbrush handle. Alas, I passed that critical point of no return and added to many dots. taking the look from cute to poop. Start over? Nah. I simply painted over the dots and got my project back on track.


Followed by a little glass glitter for good measure. (The glitter sticks right to the paint, BTW!)


Mom Lesson Number 4: Recognize when something isn’t working and fix it.


I was excited to use some of my pretty glass glitter on this card for mom, but after I had it down (and even semi-dry), I didn’t love the look of the yellow gold when paired with the gold color of my sequins. No worries or need to start over. (No way, man!) Instead, I simply used tweezers to scrape that gold off and replace it with turquoise. 


Mom Lesson Number 5: Learn to improvise.


Life doesn’t always go as planned, so it’s important to work around obstacles and find new solutions. For example, I wanted to glue my sequins down, but I found my glue had dried in the bottle. (Something that happens a lot, I’m afraid. Any pointers for me in helping avoid this glue outcome?) 


But I thought about my mama’s wise words and looked for alternatives. ta-da! Stickles. 


Yes, this is more than just a pretty face. Stickles works as both glitter and glue, meaning it would hold my sequins in place. Bonus, a little Stickle magic also seeped through the centers of each sequin, creating a glittered center.


Mom Lesson Number 6: Slow & steady wins the race.


I was trying to hustle when it came time to adhere my sequins, but my man-hands paired with the tiny sequins and small dabs of glue was making for a mess. So I took a deep breath as my mom’s most used life lesson played in my head—”patience is a virtue.” I slowed myself down, reached for my tweezers, and neatly placed each sequin, making sure the job was done right. 


Mom Lesson Number 7: If at first you don’t succeed, try, try again.


At last, I had completed my card front . . . or had I? I wanted the bag opening on the right side, but, to my horror, it was on the left. Now what? Well, I could send my mom a loving “Wow” greeting, or I could work to rework the bag. And rework, I did.


First, I cut the two ends of the bag off.


Then I folded the top and bottom of the bag back, creating a slimmer look, and I sewed them in place, also sewing the original opening (on the left side) closed. 


Finally, to make it a quicker read that the right side opened to reveal a surprise within, I punched a half circle in the center, creating a tab. 


“Wow” problem solved. Or, should I say, Wow! Problem solved! ;) 


Mom Lesson Number 8: Don’t be afraid to shine.


Using my Prima gold spray ink and a large, white tag, I brushed on a little love note for mom. 


I then used the same Prima spray ink to tint a small glassine bag. Yes! You can spray your glassine!


I just love the bit of sparkle this adds to my project. 


Mom Lesson Number 9: Make it personal.


People love receiving gift cards, but there’s sometimes a negative connotation that giving gift cards is impersonal. Worry, no more. By creating a quick and completely personal gift card holder like this for Mom, you’ve proven that you’ve definitely put your heart into your gift giving. And Mom will have both a keepsake and a fun shopping spree to enjoy!


I put the card in my gold bag, and I attached the bag to the back of the “love you” tag. 


And now I have a fun gift-card holder, just right for my mama’s heart of gold! 


Mom Lesson Number 10: Clean up after yourself.


Ummm... Yeah... Still working on that one. *blush* 

Supplies Used: Baker's twine, glassine bag, tag, and treat bag: Whisker Graphics; Acrylic paint: Martha Stewart Crafts; Sequins: Hazel & Ruby; Gold spray ink: Prima Marketing; Other: Glass glitter and gold thread. 

***

Happy Mother’s Day to all of the beautiful mamas out there! I hope your day shines!

Cheers!

Instagram: User name: MeganHoeppner